Client Onboarding
Rhenari Client Onboarding Guide
This guide starts after your organization has subscribed to Rhenari through the Microsoft commercial marketplace. It covers the activation wait state, access troubleshooting, and the tenant administrator onboarding steps inside the Rhenari Teams app.
Before You Begin
Make sure you have:
- A completed Microsoft commercial marketplace subscription for Rhenari.
- A Microsoft 365 tenant administrator available if admin consent or access changes are needed.
- The Teams channels where Rhenari should send system alerts and daily momentum cards.
- The Microsoft groups that represent each department you want to onboard.
- A list of users to assign as workspace Admins and Viewers.
1. Wait for Activation
After subscribing through Microsoft Marketplace, your subscription enters an activation period. You'll see a "Waiting for Activation" screen when you first open the Rhenari Teams app. This typically resolves within minutes.
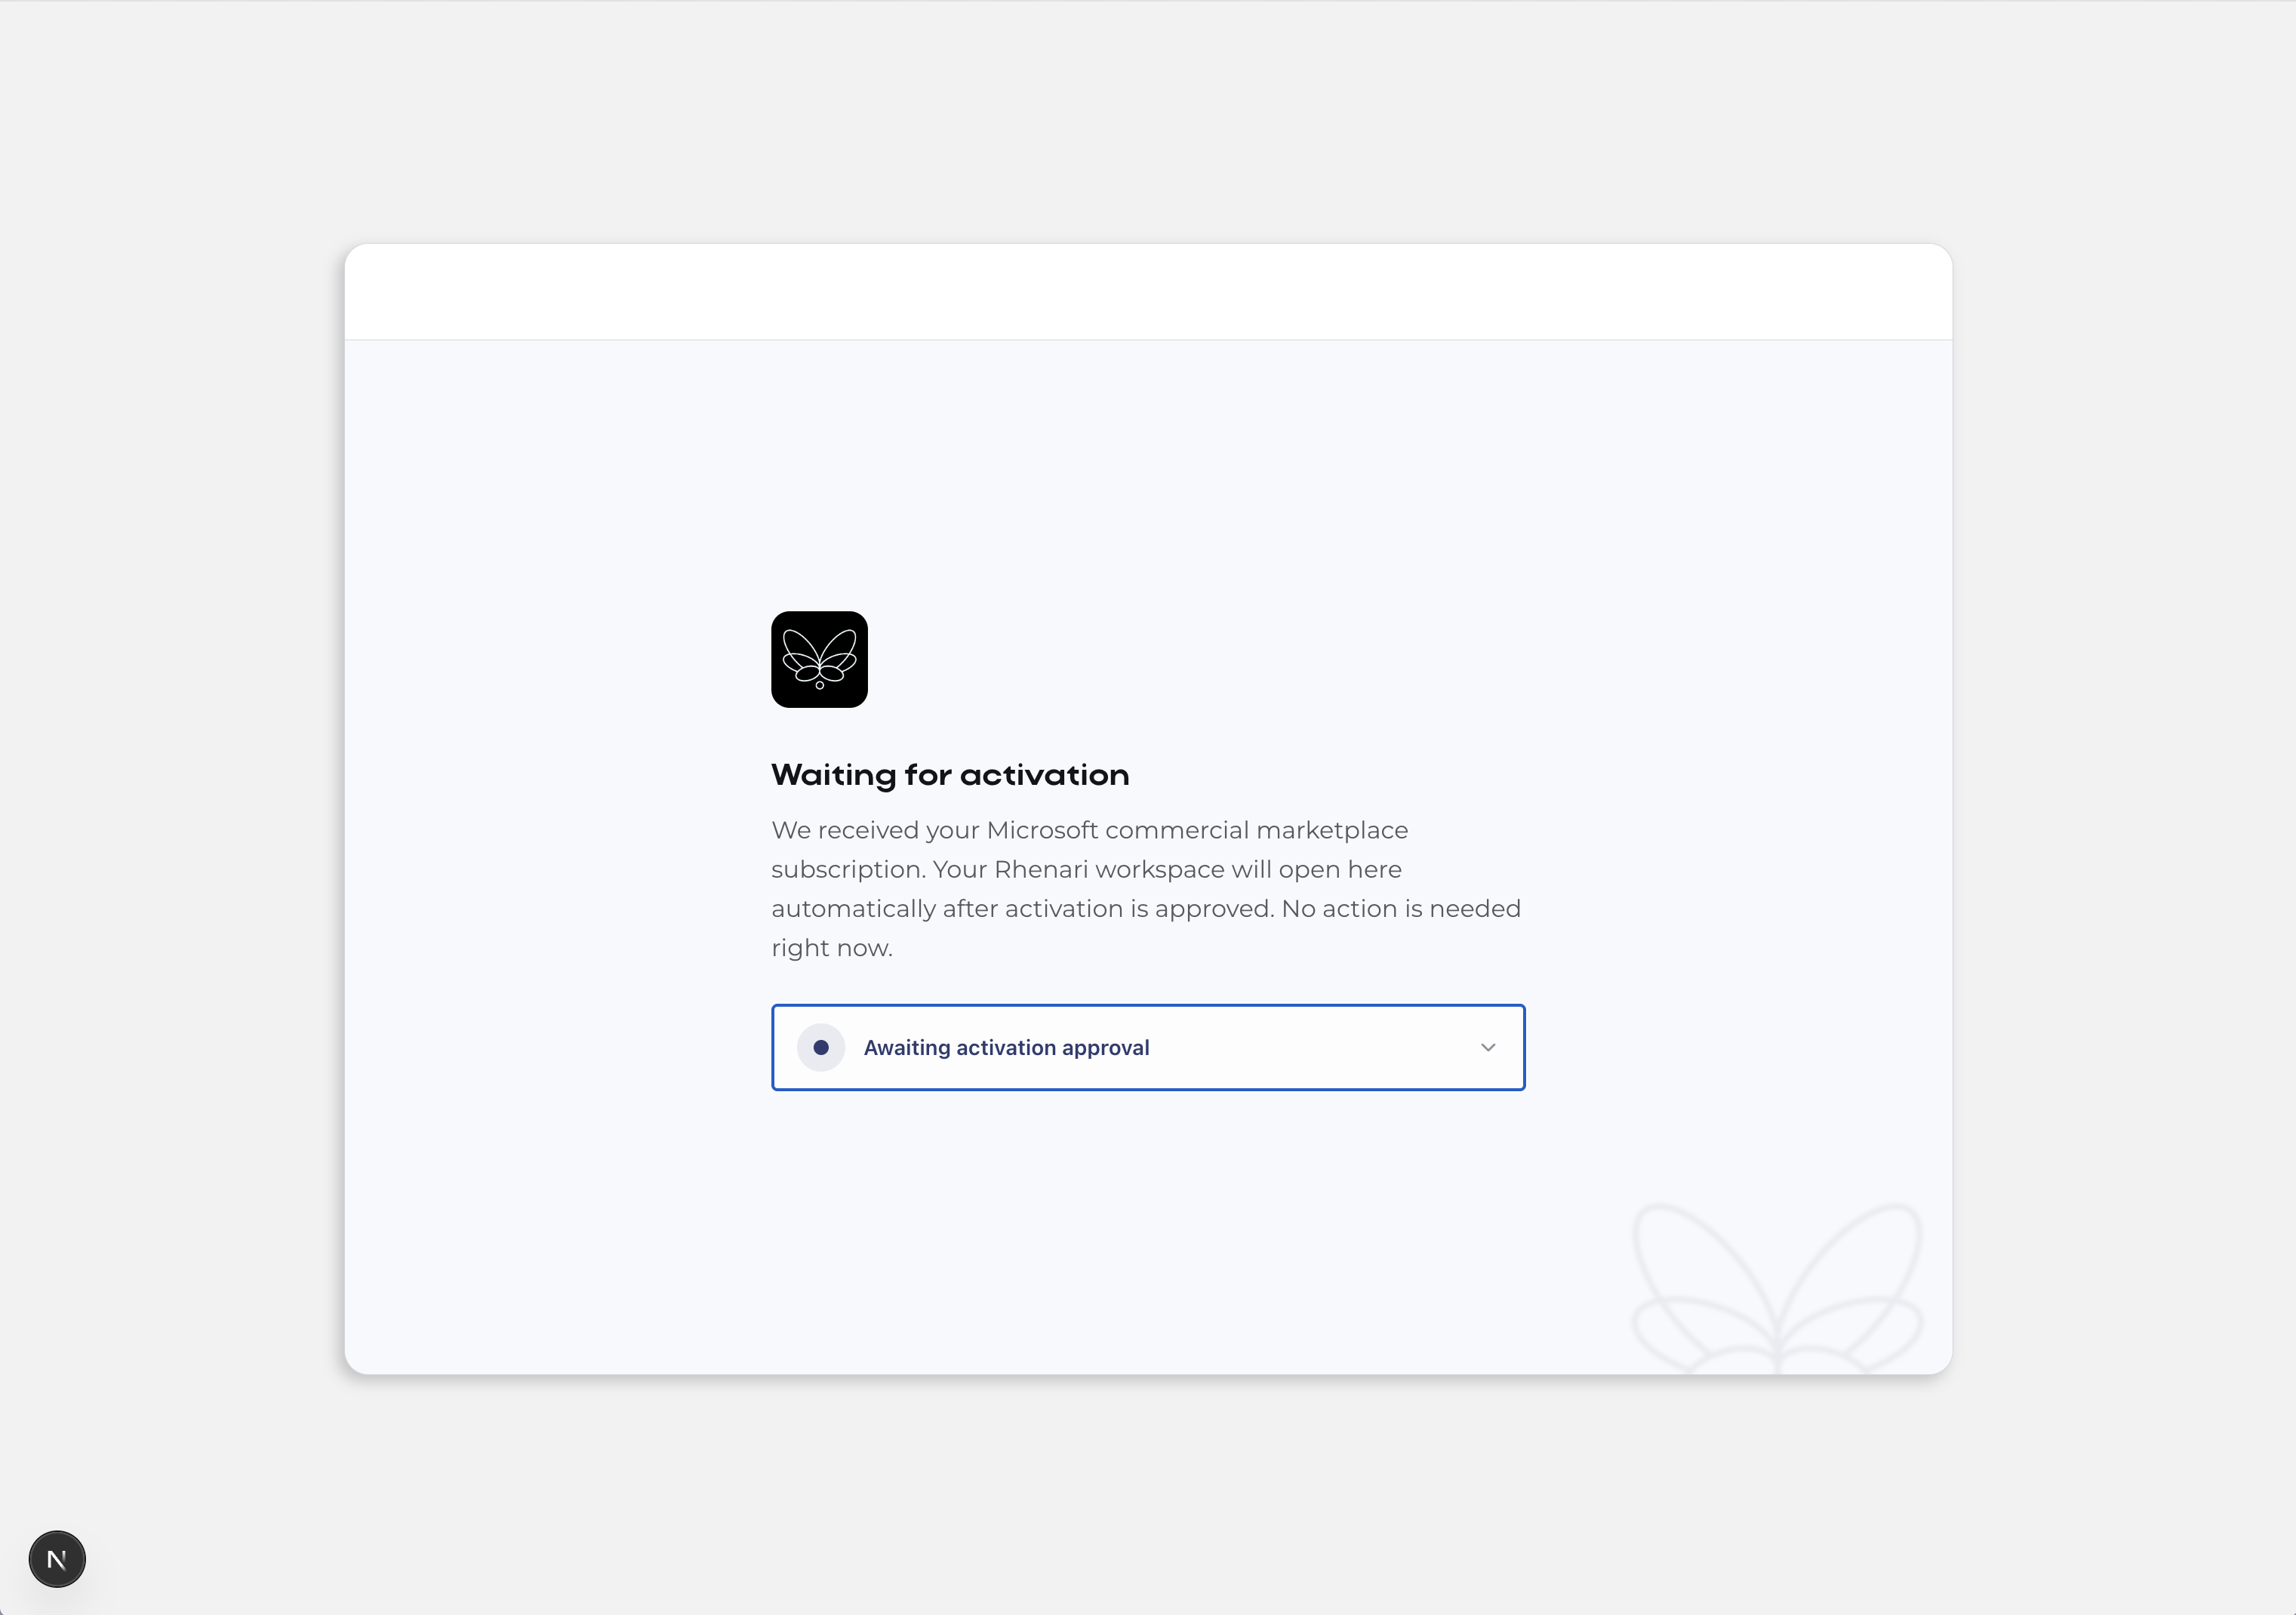
If the activation screen persists, confirm that the Marketplace subscription is fully processed in your Microsoft admin center.
2. Administrator Assistance (If Needed)
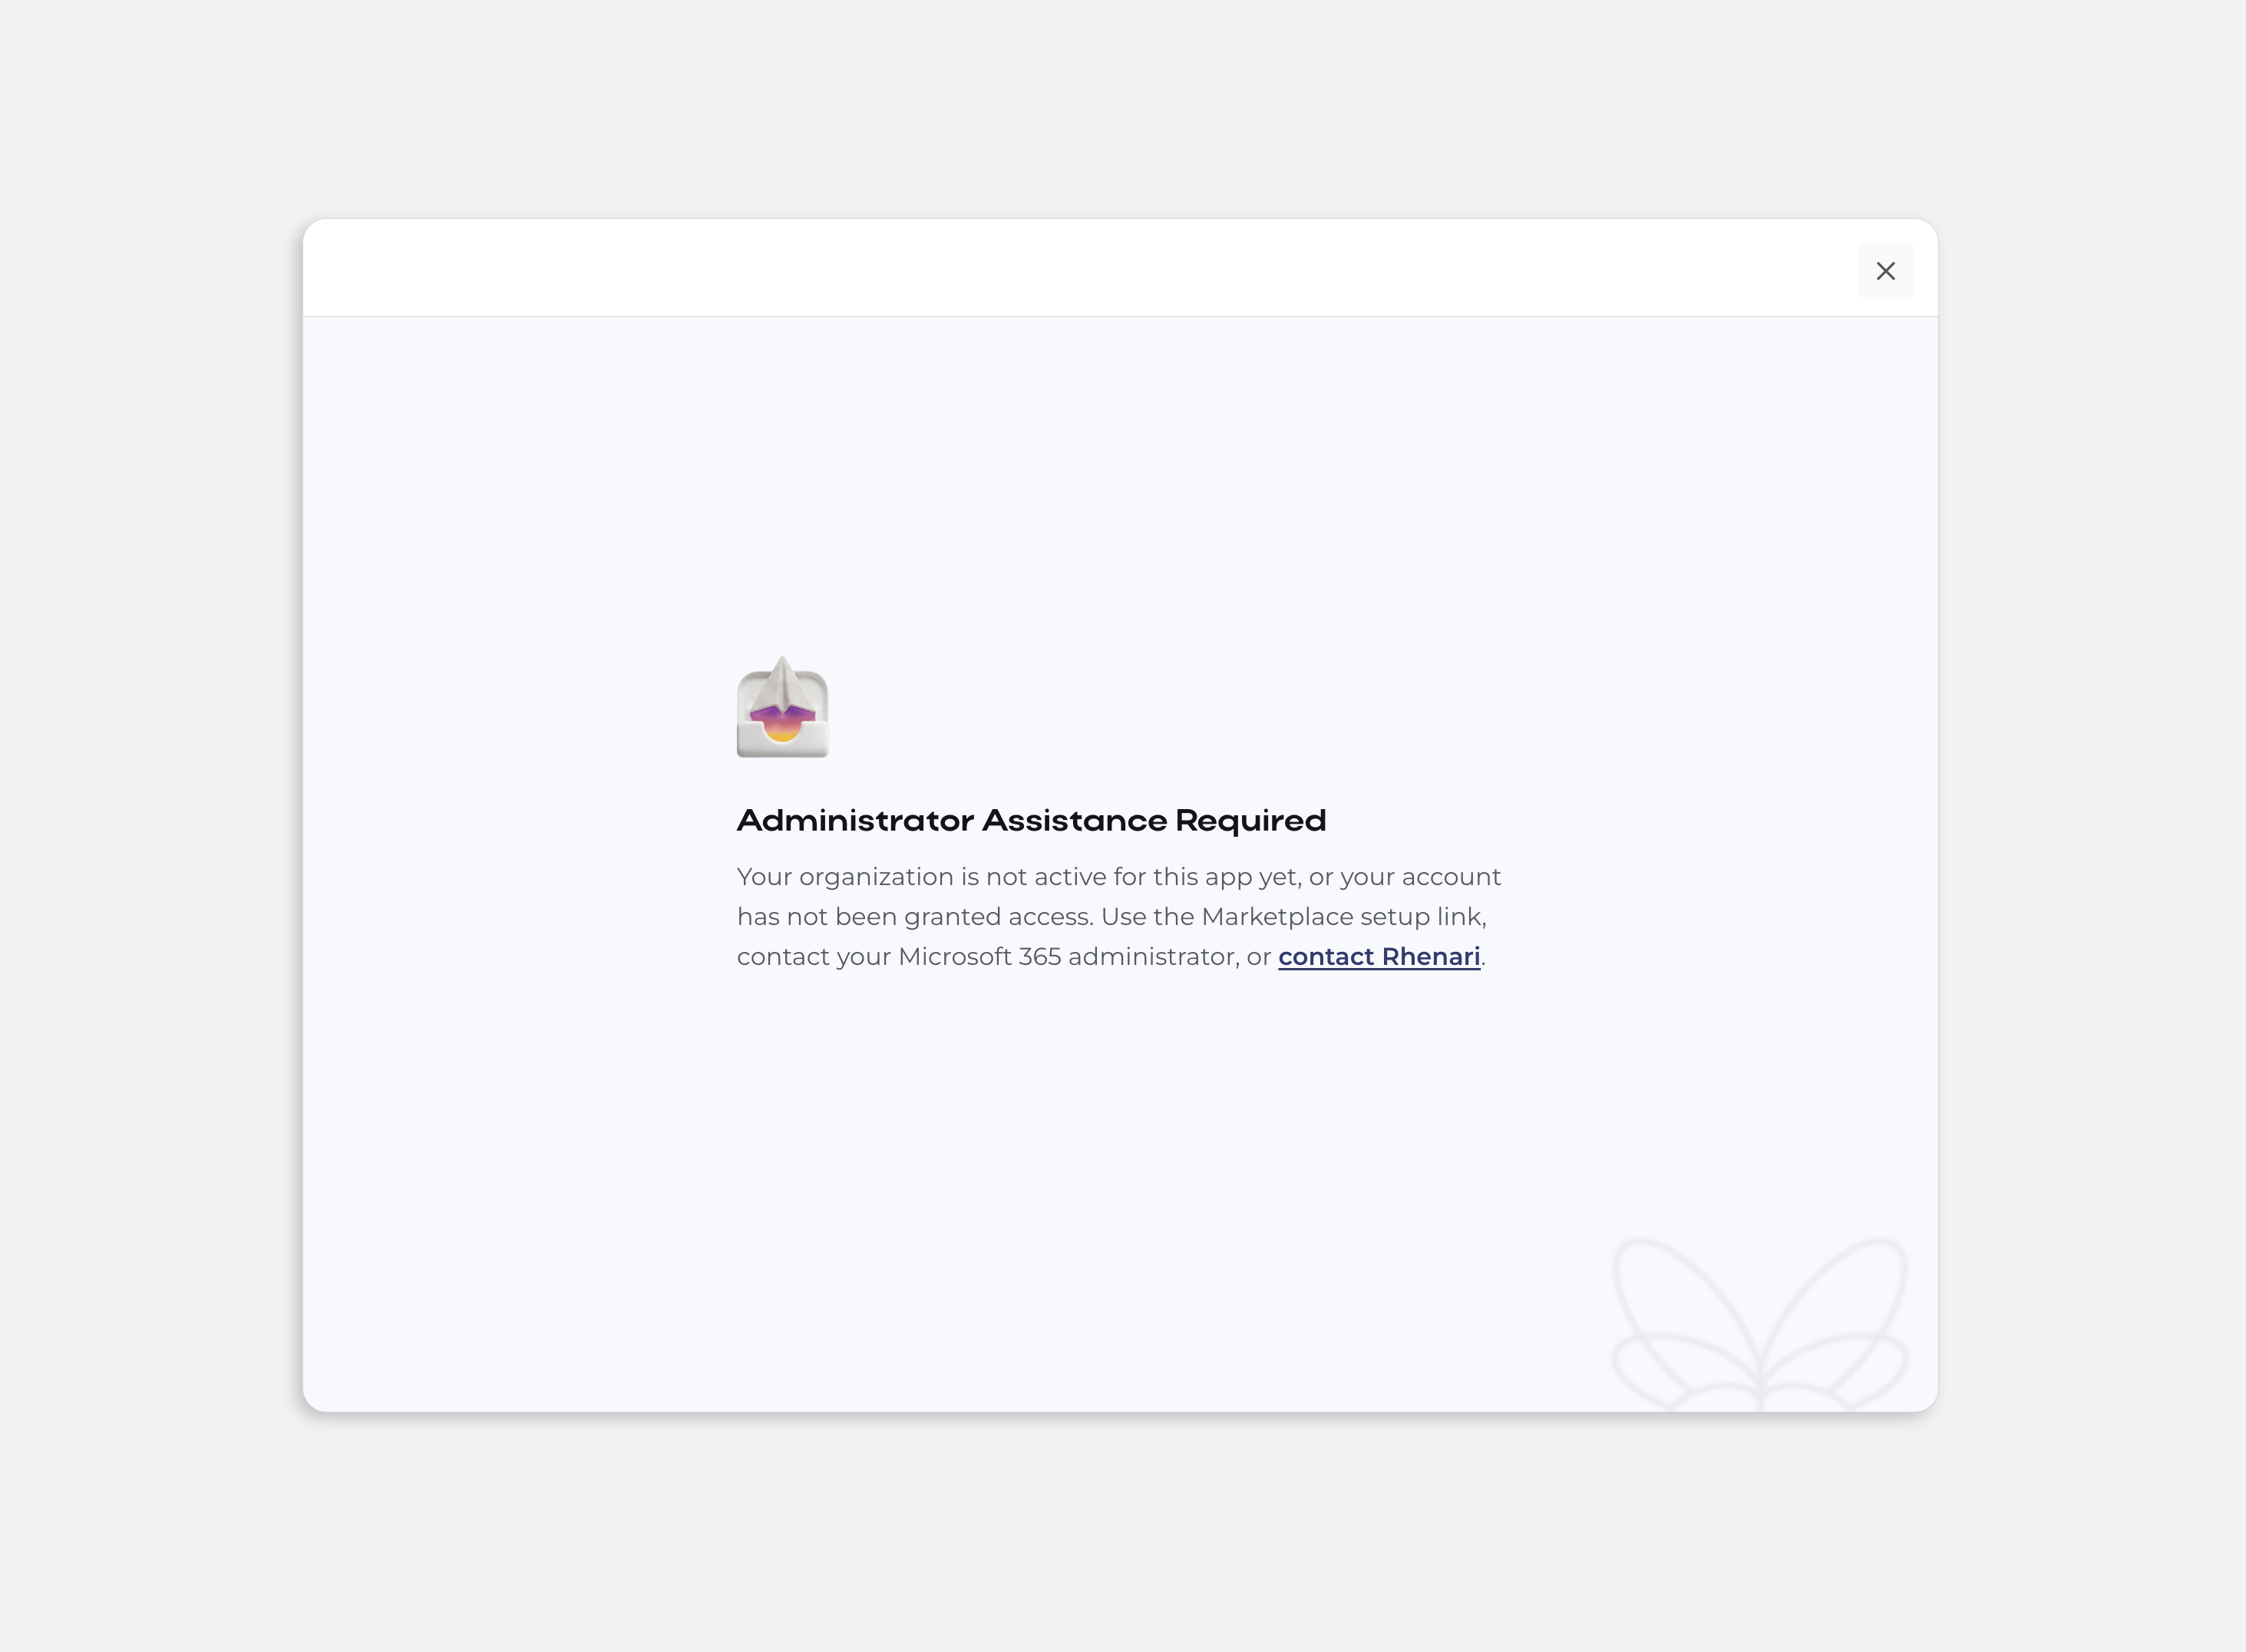
If your organization is not yet active or your account has not been granted access, you'll see the "Administrator Assistance Required" screen. Use the Marketplace setup link, contact your Microsoft 365 administrator, or contact Rhenari support.
3. Configure Access & Permissions
Once activated, the Tenant Administrator opens the Rhenari app in Microsoft Teams. Use the Access & Permissions screen to add members to Admin and Viewer groups:
- Admins — Full control over all settings, departments, and configurations.
- Viewers — Read-only access to view dashboards and reports.
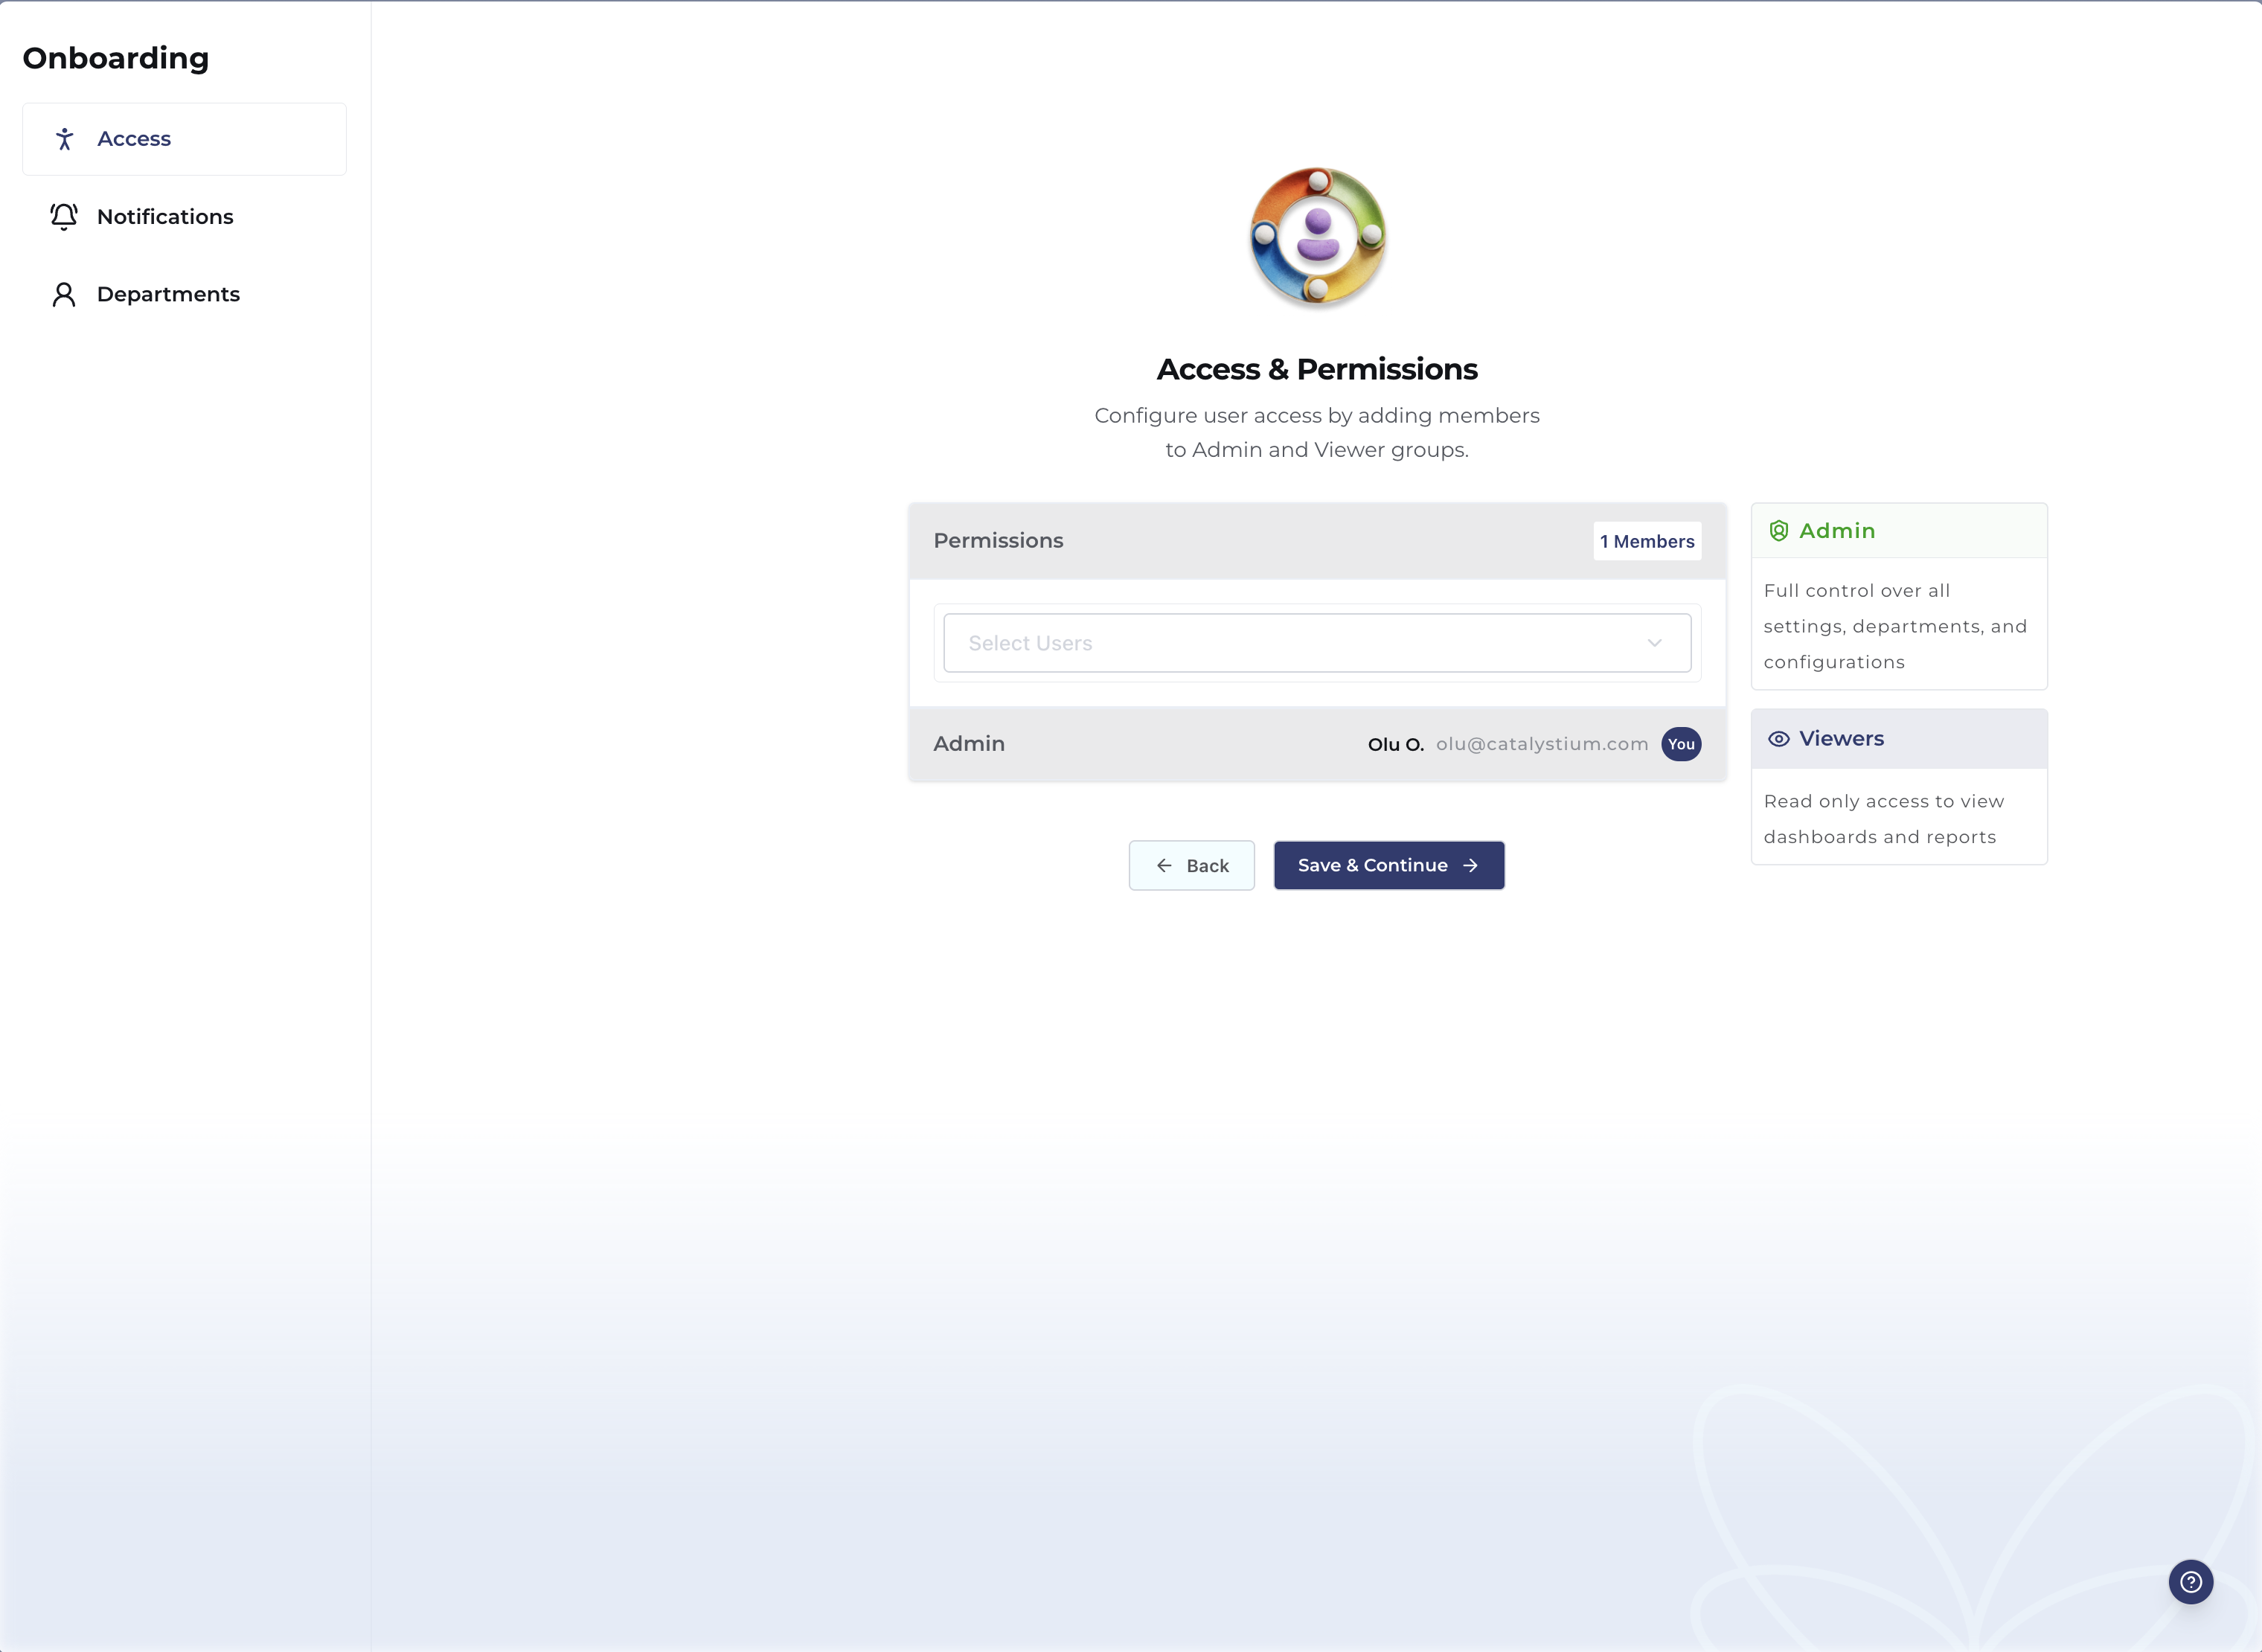
Keep at least one active administrator assigned at all times.
4. Select Notification Channels
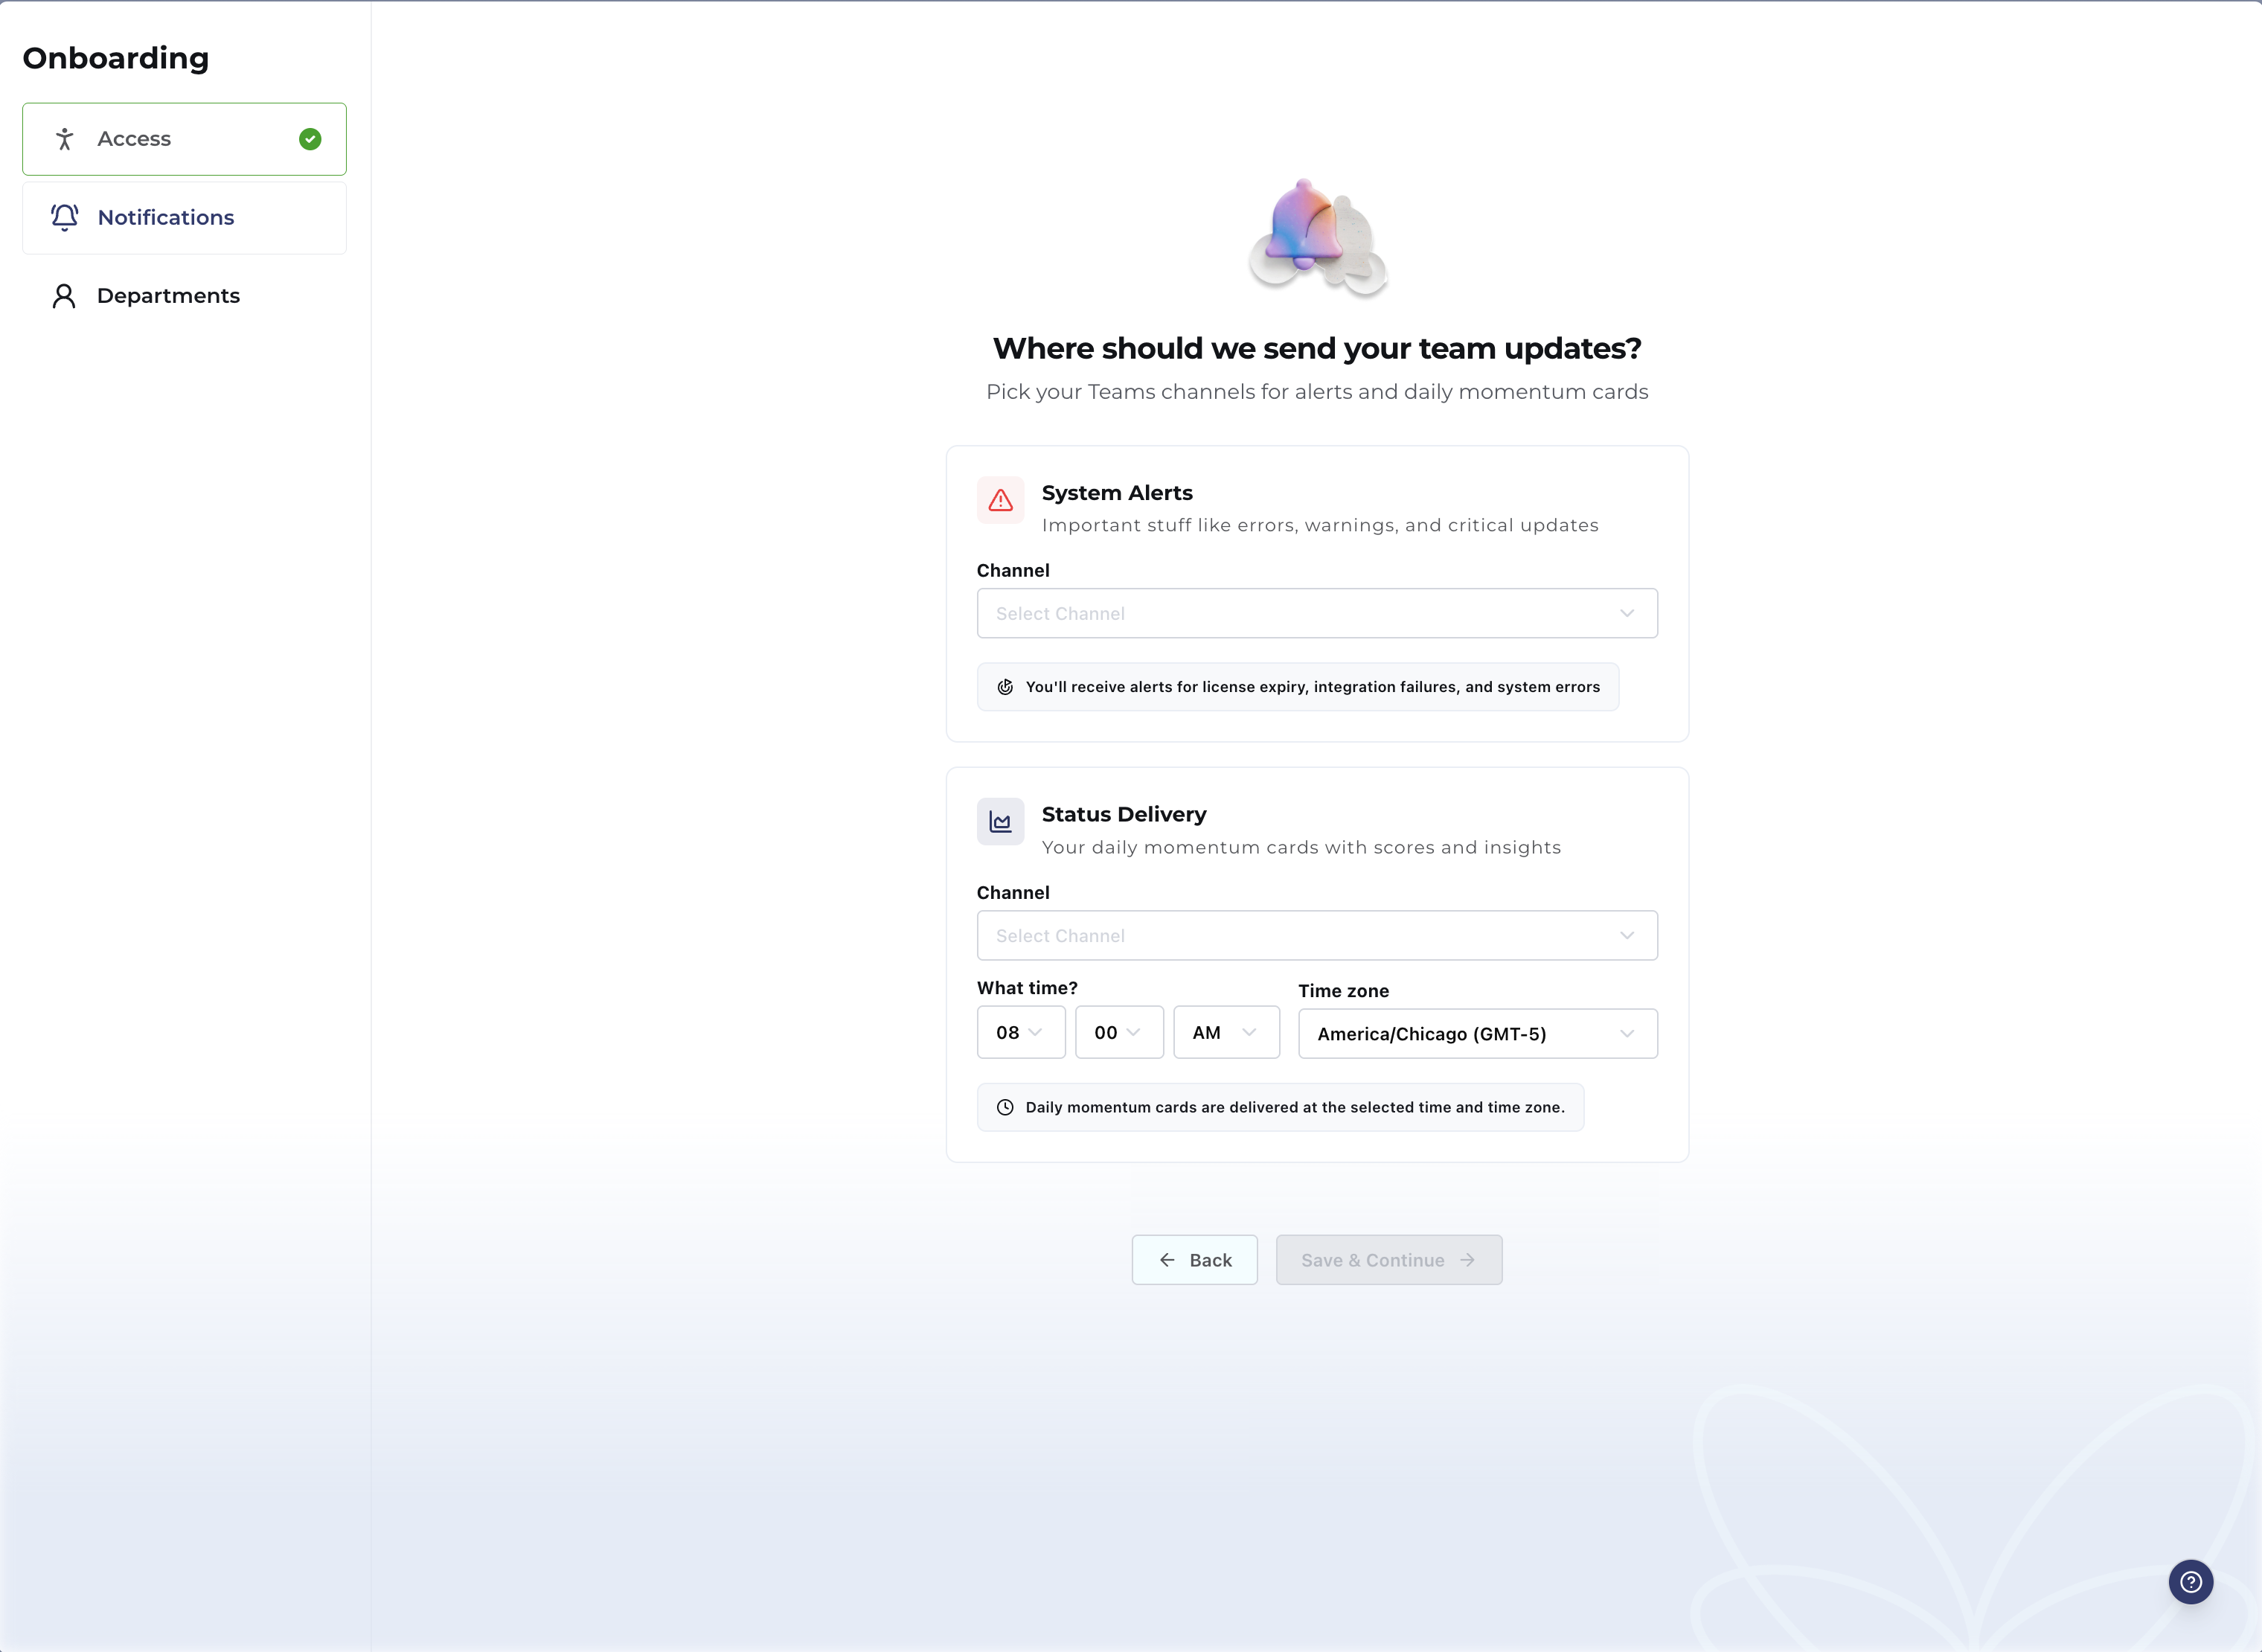
Configure two notification destinations in Microsoft Teams:
- System Alerts — Choose the Teams channel for license expiry notices, integration failures, system errors, warnings, and critical updates.
- Status Delivery — Choose the Teams channel for daily Momentum cards with scores and insights. Set the delivery time and timezone.
5. Add Departments
Create departments that map to how your organization is structured. For each department:
- Name the department
- Map it to a Microsoft group
- Assign a Department Admin
- Allocate seats from your licensed quantity
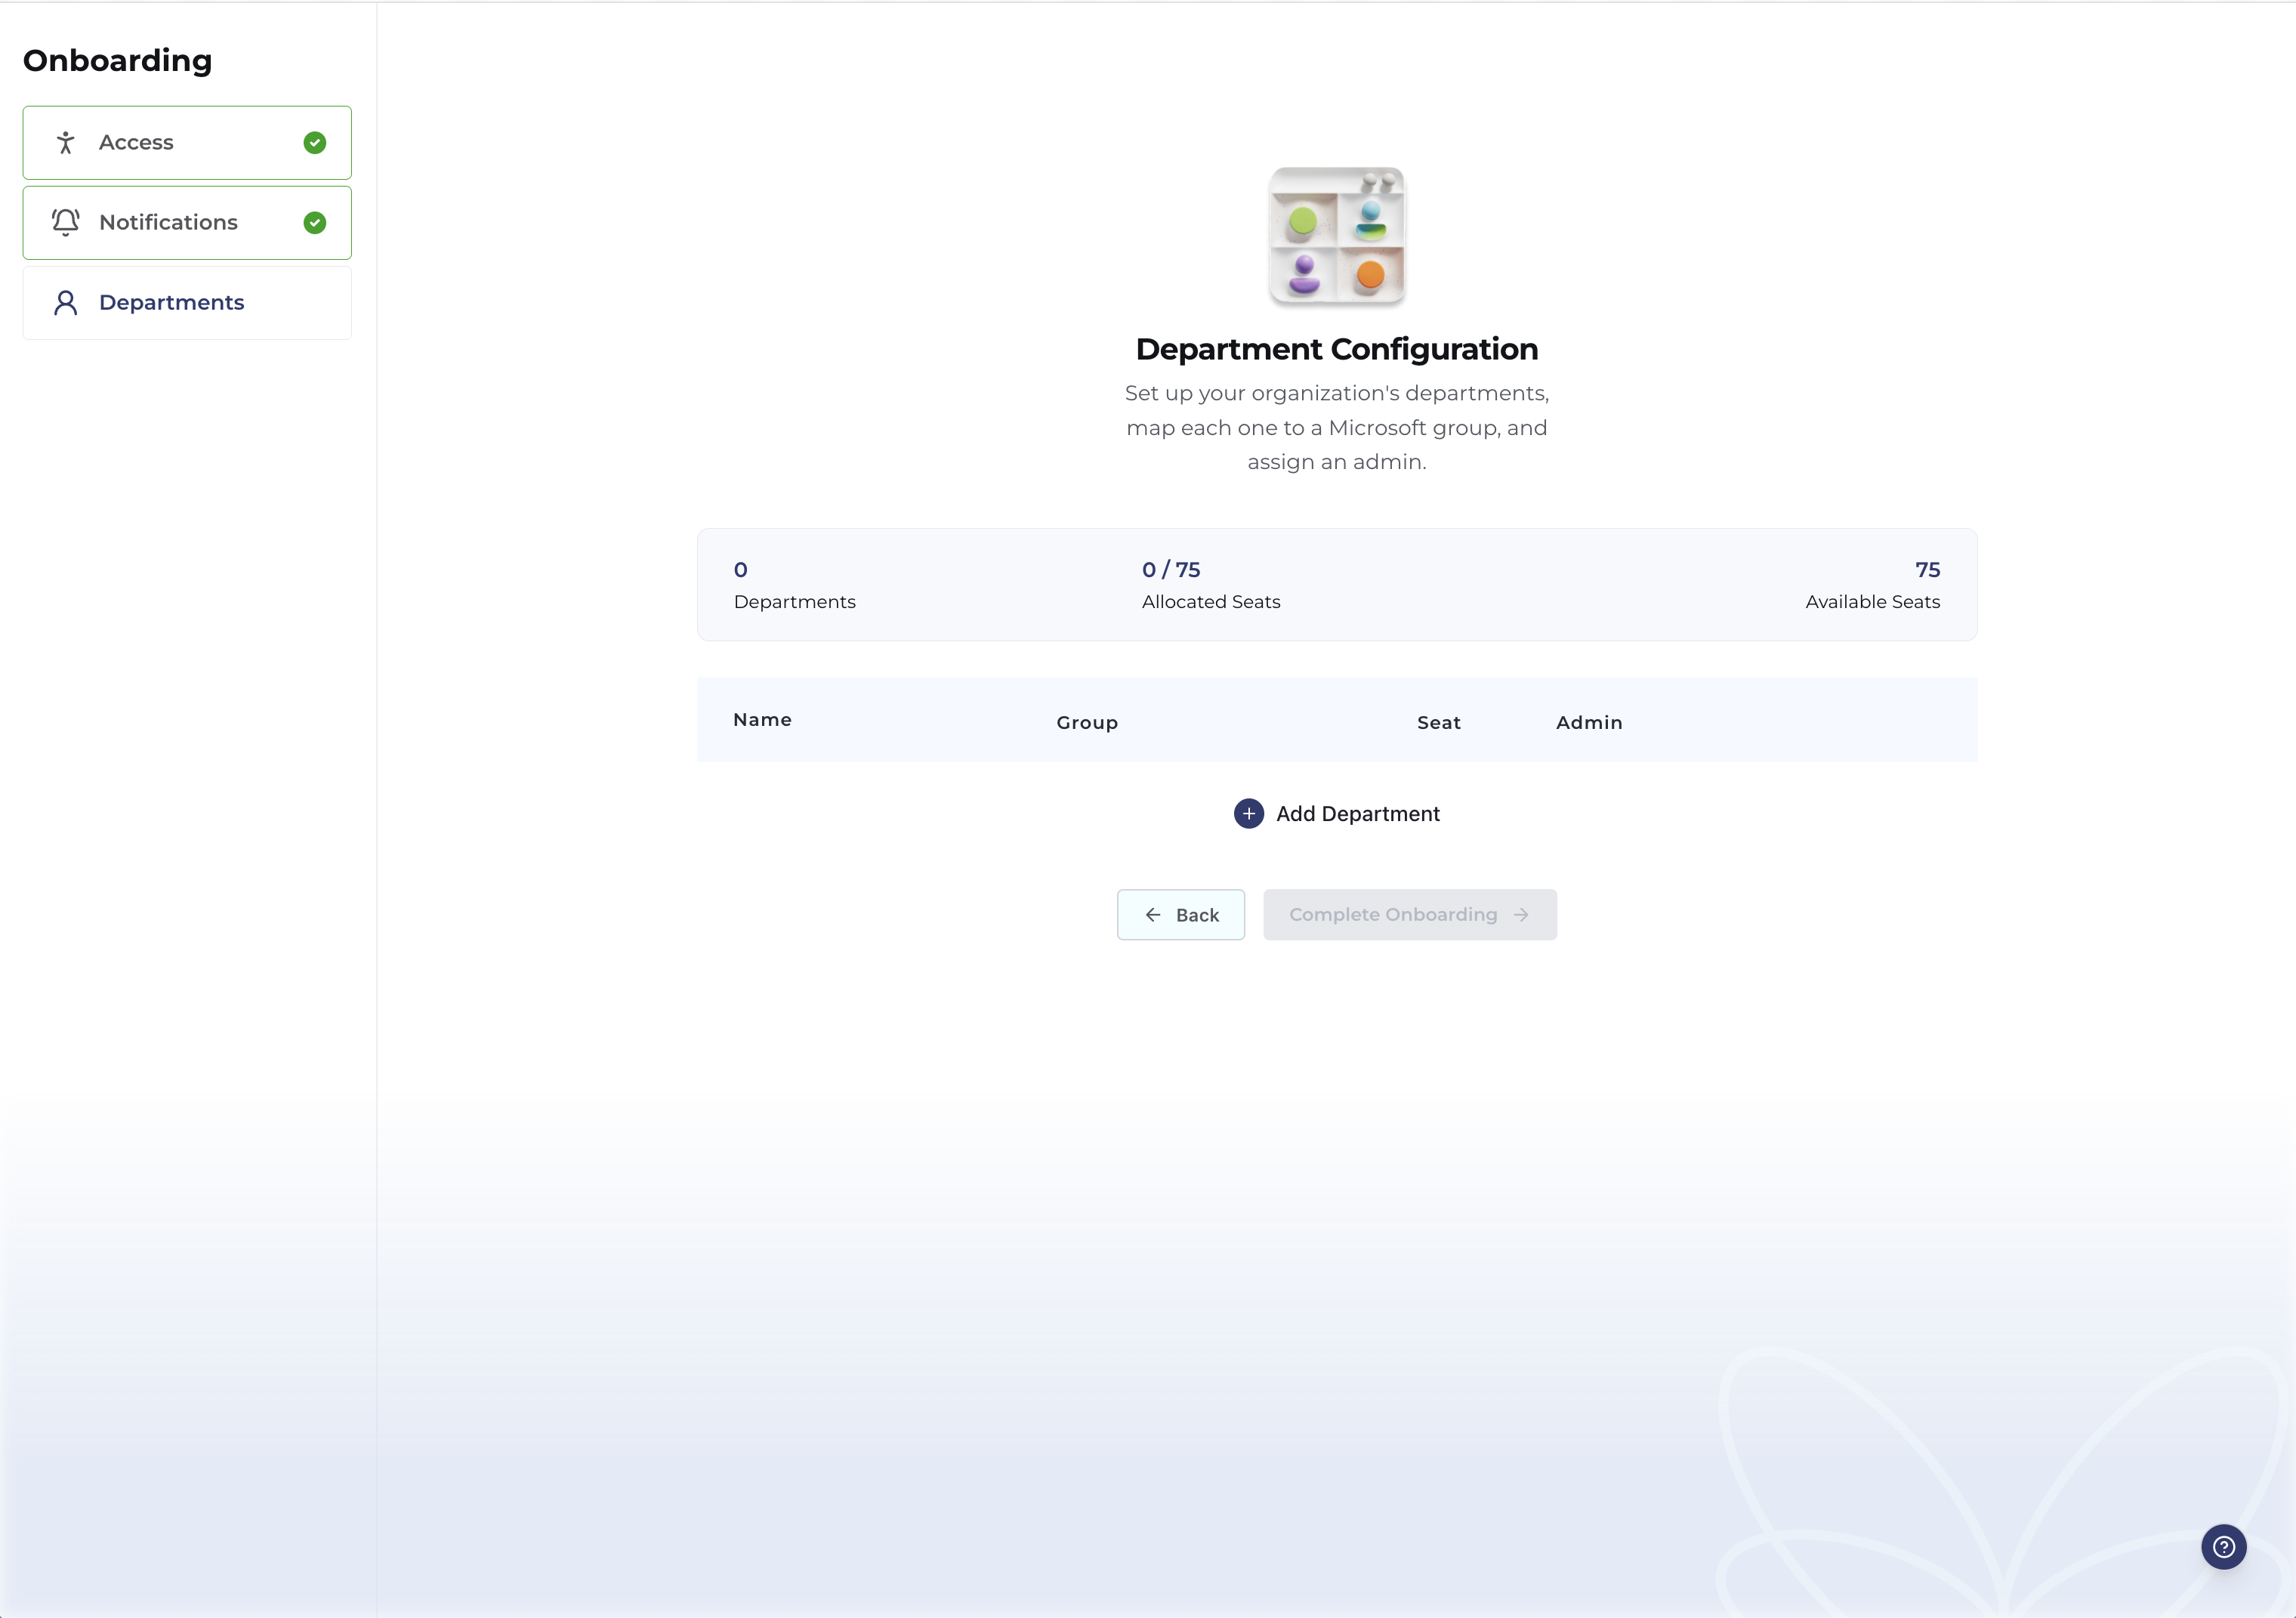
Confirm that allocated seats do not exceed your purchased quantity. The seat allocation display shows Departments count, Allocated Seats used, and Available Seats remaining.
6. Connect Integrations
Connect the tools your teams use — Microsoft 365, Jira, Azure DevOps. Rhenari reads behavioral metadata from these tools to build the execution picture. Integration credentials are stored securely and never exposed.
7. Start Monitoring
Once departments are active and integrations are connected, Rhenari begins reading signals automatically:
- Hourly source pulls start on Day 1
- First Momentum and Confidence scores typically appear within 2–7 days
- Baselines mature over the first few weeks
Need help during setup? Startup plan customers: email support at hello@rhenari.com. Growth plan customers receive guided onboarding — your session will be scheduled after subscription activation.